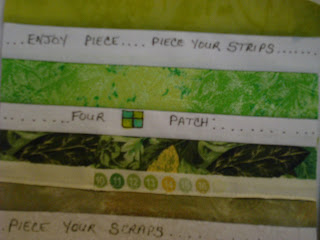
As I sewed the selvages together, I found that I was running out of printed selvage edges. What to do? I didn't want to go out & buy more fabric to complete my quilt so, I decided to use fabric markers to write & doodle something on the white space of the selvages. When I ran out of selvage edges, I made up some faux selvage edges by sewing narrow strips of white fabric to a print fabric. When I'm motivated to sew, I don't like taking time to go out to shop for additional fabric. So I got creative. I figured that I would use up more scraps in this way. Before sewing all the squares together, I did heat set the blocks that I wrote on to minimize fading when laundering the quilt.
Over the last few weeks, after several breaks from sewing, I came up with a layout for my selvage quilt. I've always loved the colors in the color wheel for a quilt & this is the look I wound up with. The side borders are sewn in the same way as the center blocks. For more details as to how to sew this type of quilt, I recommend Karen Griska's book, "Quilt's From The Selvage Edge". She has written the book in a way that you can create your own design or follow one of the quilt designs in her book. Making this quilt was so much fun & very liberating. Thank you Karen Griska!!!!!
As you can probably see, I've only completed the quilt top. I still need to sandwhich this quilt & quilt it. For now, I'm taking a break. This quilt size is 77"w x 89" l.
Be sure to visit Karen Griska's blog at http://www.selvageblog.blogspot.com/ for more selvage quilts & other inspiring quilts.
Have a great day everyone!


